Character Walk Cycle
Here's where we get to put it all together now into some character animation. This is what we've been building up to over the past 3 months of the 1st semester. You'll want to incorporate as many of the principles learned from the previous assignments into this one. They won't apply in exactly the same way, but the basic theory is still there.
Nov 2010 demo using an ostrich as the design.
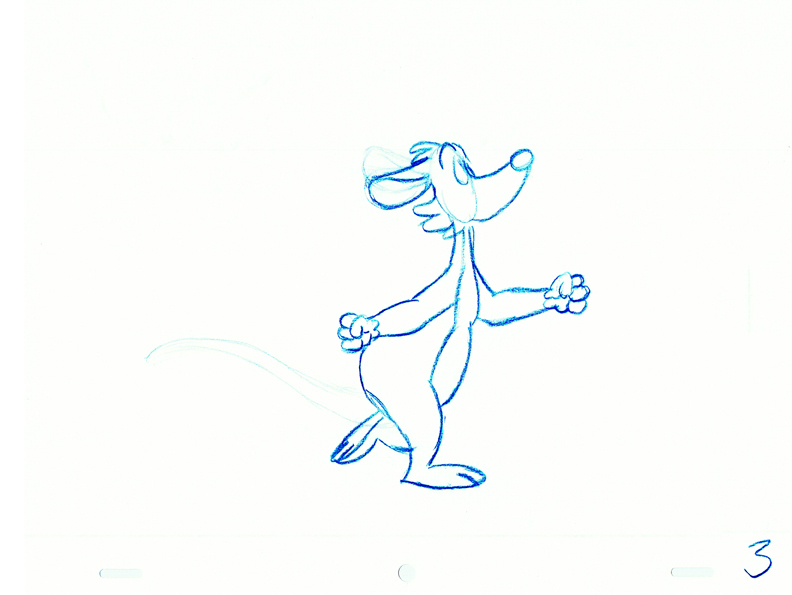
Nov 2011 demo using a little bear character.
Dec 2012 in-class lecture 1 video
Assignment
Animate a character of your choice doing a basic 16 drawing walk cycle. Keep the character design very simple, using just shapes - by this I mean, don't add any details. No clothing, shoes, hair, facial features. Let's keep it simple to start with. If you want to go back over the drawings later and add some stuff, that's fine, but I want you to focus on the action and movements rather that the detailing.
Purpose and Principles Involved
The purpose of this assignment is to move to the next level and animate a character. To deal with timing and creating an illusion of weight, gravity and overlapping action.
These are the principles being re-enforced:
• Stretch
• Squash
• Weight
• Slo-in and slo-out
• Spatial Relationships
• The Effect of Gravity
• Realistic Timing
•Use of Arcs
• Accuracy in Drawing
• Reading and Following a Timing Chart
• Maintaining Volume and Proportions
• Flipping Your Drawings
The principles listed above are the Primary principles of animation. All animation is based on these. As I said before, we want to pull our experience in doing the simplified versions of the assignments and start applying them to an actual character as opposed to just a ball.
Grading
Grading sheet for Walk Cycle Assignment
Thought Process
Before you start drawing you need to know in your head, exactly what it is you want your character to be doing. That doesn't mean that you can't modify the action as you go along, but if you try to animate anything without really planning it out or at the very least, seeing it in your head, you're going to find yourself wandering and losing control. This is the worst thing that can happen when you're animating. As soon as you lose sight of what the character is doing, the drawings don't do what they should and your animation starts looking bad. That's when you start thinking to yourself, "Why can't I animate??"
Over the years, I've seen a ton of really bad student animation. I've seen some good stuff as well, but not nearly as much as the bad stuff. I'd say it's easily 90% bad and 10% good. There are lot's of reasons for this. I won't get into all of them right here, but the top two reasons are: 1) not pre-planning the animation, and 2) not budgeting your time properly.
Far too many students leave their assignments until the last minute. If the instructor gives you two weeks and tells you it'll take about 12 hours of drawing time, invariably, the student will leave it until the day before it's due, then pull and all-nighter and realize with 3 hours left until the deadline, they still have 5 hours of drawing to do.
Oh, if I only had a dollar for every time this happened... I'd be rich. Well, not really. But I'd have several thousands of dollars, that's for sure!
So, how do you plan a walk cycle?
It really is insanely simple.
Act it out for yourself.
Get up and start walking.
Start walking the way you want your character to walk. Take the steps, plant your feet, bend your legs, swing your arms, move your head... o.k. so it's not really all that simple is it?
You need to create a rhythm for the walk. A beat, like in music... one... two... one... two. Time it out. What beat do you walk at when you're walking normally? Go for a walk and count your steps: one... two... one... two... one... two...
What is your beat?
Now modify your walk to the way you want your character to walk. Is the beat the same? Is it faster or slower?
Use a stopwatch to time yourself.
If you take two steps per second, that's pretty fast. Listen to what that sounds like.
Most people walk slightly slower at 1 and 1/2 steps per second. This pace creates a 16 drawing cycle shot on twos. This is kind of the industry standard, but there's nothing to say you can't make yours faster or slower. It all depends on how hard you want to make it on yourself.
A 16 drawing cycle is easily divisible by twos: 16 ÷ 2 = 8.... 8 ÷ 2 = 4.... 4 ÷ 2 = 2 and 2 ÷ 2 = 1
On the timing charts, it looks like this:

If you were to try and do a 12 drawing cycle you would run into a slight problem: 12 ÷ 2 = 6.... 6 ÷ 2 = 3
3 can't be evenly divided by two, so you're stuck with having to inbetween to thirds, which is not a terrible thing, but it's not as easy as halves.
The timing charts would have to look like this:

The same thing would happen if you wanted a 22 drawing cycle.
Anyway, let's stick with the simple, standard 16 drawing cycle.
After you've acted the walk out, you need to visualize in your head (you can do this physically as well) your two primary key poses at the "full stride" position, where one leg is in it's forward most position and the other is in it's back most position. These are usually drawings #1 and #9.
Freeze yourself in this position and look at where all your other body parts are. Where are your arms? Which direction are they moving in? Are they bent or straight? What are your hands and fingers doing?
Now look at your torso. How are your hips positioned? Are they twisted? Tilting? Is one higher than the other? Is your chest torqued in the opposite direction (it should be). Is it tilted up or down? Leaning to one side or the other? Is your spine straight or bent? Bent forwards or backwards? Forming an 'S' curve or a 'C' curve?
How is your head positioned? Tilting forward or back? To one side or the other?
Are your legs straight or are they bent slightly, or are they bent a lot?
Is this the "high point" or the "low point" of your pelvis?
The "high point" or the "low point" of your head?
Once you have a good "snap-shot" of this pose in your head, draw it out on paper using your character's proportions. This will be your key #1.


The next two poses you need to find are called, the "passing poses". This is where the back leg comes forward half way and the foot on the ground moves back half the distance.
Again, go through the questions listed above for drawings 1 and 9. Create that "snap-shot" and draw the pose out and call this one #5.

Now draw the mirror image of this one and call it #13.

5 and 13 are your breakdown poses or they can also be looked at as secondary keys.
Next do your main halfway inbetweens: 3, 7, 11, and 15


You'll notice that 3 and 11 are mirror images and the same goes for 7 and 15.
Each drawing in the cycle will have it's own mirror image. If you don't draw them this way, the cycle will not be symmetrical and it will appear to jerk or possibly limp.
This is a common error. I remember not drawing symmetrically and I had a limp on my first couple of walk cycles. You really have to start thinking about what's going on in this action or you can make mistakes quite easily.
Finish up your final 4 inbetweens and you'll be ready to pencil test to see if it works smoothly.
Shoot all the drawings on twos.
Here's my pencil test with the footstep track.
If I want to smooth the action out more, I'll drop in an inbetween for each drawing and shoot it on ones.
Doesn't that seem easy?
I'm just checking to see if you're actually paying attention here. This is the overly simplified expalination of how I did it. Now let me show you all the picky little steps I went through to really get this done.
Step 1
I still did the thinking and planning part in my head. I'm not personally one of those people who gets up and acts stuff out a lot. I do it for some really weird actions, to see arm positions and stuff like that.
Step 2
I sat down and started by drawing a ball for the pelvis and a ball (an oval actually) for the head. Then I connected them together with a line to represent the spine or the line of the back.

I did drawings 1, 3, 5, 7, and 9 and then shot a pencil test to see how it moved.
Look familiar? It's basically the same principles of the "Double Ball Bounce" and the "Seaweed" excercises combined.
Step 3
Once I was happy with the action, I went back over the drawings and added in just the legs

I added the legs to all the existing drawings and then I drew the mirror image drawings: 11, 13, 15 to complete the cycle.
Then I shot another pencil test.
Step 4
Next I added in the arm action to all the drawings starting with drawing #1 and then doing the mirror image for #9. Then I did the breakdowns: #5 and #13.
Then I did the main inbetweens.
I then went back over the drawings and added the nose. This I did as straight ahead animation, starting with #1, then doing 3, 5, 7, 9, 11, 13, and 15 in order so I could properly see the overlapping action taking place.
I didn't bother doing a pencil test at this point as I could see the action taking place just by stack flipping it in my hands.

I then went back and did all the remaining even numbered inbetweens for the entire action.
Step 5
I took all the drawings and starting with #1 again, I animated the ears and tufts of hair on the top of the head along with the cheeks as straight ahead. I had to make some modifications after I went through it once because some of the action wasn't working quite the way I wanted it to.
Then I went back again and added in the straight ahead animation of the tail.

Then I shot these as a pencil test to make sure it was all working together.
Step 6
The final step was to go back over the drawings and clean them all up adding in the little details and tightening up the volumes.

Here is the cycle cleaned up and shot on twos.
And here it is in color on twos.
Here it is, shot on twos, in color, with a panning background.
There's a slight bit of slippage on the feet, because the background is panning on ones and the animation is on twos.
This is corrected when the animarion is inbetweened and the drawings are then shot on ones.
Here is the demo that I did for my class in Nov 2010 using an ostrich as the design.
Here is the demo I gave my class in Nov 2011 using a little bear character.