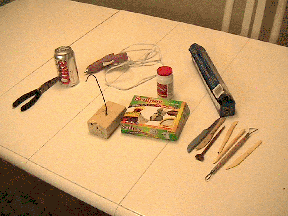
From left to right - needle nosed pliers, a cold can of Diet Coke (for when you get thirsty - substitute whatever type of beverage you prefer), glue gun, block of wood (with small hole drilled into it), coat hanger wire, Sculpey (or some other type of oven-bake clay), a bottle of Tylenol (for the occasional headache), a roll of aluminum foil, and an assortment of knives and/or sculpting tools.
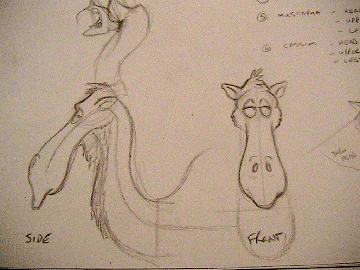
You'll need to come up with a design of some sort to help you with the overall vision of what you want the sculpture to turn out like. It's best to draw this out on paper first. You can draw the character from a number of different angles. I prefer the 3/4 view first and then I do a couple of straight-on front and side views. These help me to plan where I'm going to put the support wire and what shape it should be.
It's also a good idea to do these drawings to the size that you'll actually be doing the sculpture at.
Here are my two head sketches for the camel. You can see the line in the side view that shows the positioning and shape of the coat hanger wire. I just bent the wire using the pliers and matched it up to the drawing.
After the wire was bent into shape, I drilled a hole into a block of wood, inserted the end into the hole and glued it into place with the hot glue gun. You need to understand that the glue will melt when you bake the sculpture in the oven later on so be careful not to make the hole too big, otherwise it'll flop over while it's cooking. If you double over the wire at the end, it will make for a more snug fit into the wood.
Also be sure the block of wood you use is big enough to support your finished sculpture from falling over. You don't need to worry about the wood catching fire in the oven as you'll only have it in there at 275 degrees F for about 15 - 25 minutes.
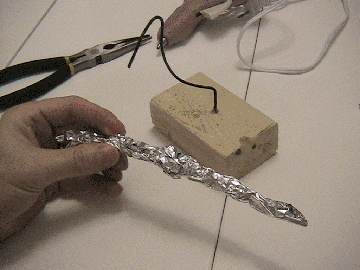
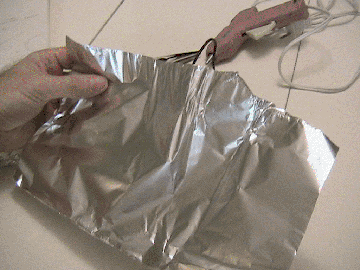
Next, take a chunk of aluminum foil and scrunch it up into a tube. You'll use this foil to stuff the sculpture and create the basic volume. You'll apply the clay onto the foil. This will keep the sculpture light and cut down on the baking time. It also avoids the unpleasantness of the clay cracking during the baking process.
Use your own judgement as to how much foil to place where. There are some cases where you won't need any foil at all for the very thin parts.
The nice thing about using the foil is that you can scrunch it down if you feel you've added too much and it's plyable enough for some very basic structural modelling.
Never use styrofoam, plastic or paper as the styrofoam and plastic will melt and give off a toxic gas and the paper will possibly catch fire.
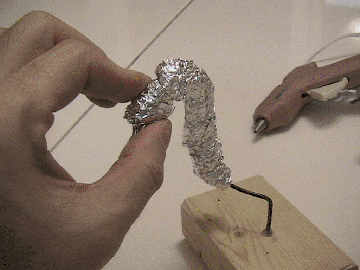
If you need to add more thickness on, just scrunch up some more foil and wrap it on. If it won't stay in place, use the hot glue gun to tack it on. As I said before, the glue will melt in the oven, but it won't matter because the whole thing will be covered in clay at that point.
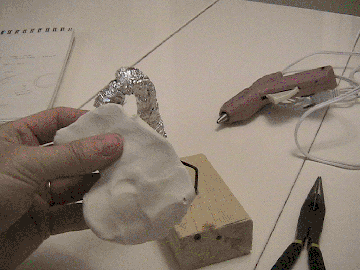
Once I'm happy with the size and shape of the foil, I can start applying the clay.
Pull off a chunk and roll it in your hands to get it softened up. (Make sure your hands are nice and clean first.) Sculpey is really good because it has the feel of soft plastecine. Flatten it out like a pancake with your fingers to about a 1/4" to 1/8" thickness. You can then rip the piece to the size and shape that you want and apply it to the wire frame.
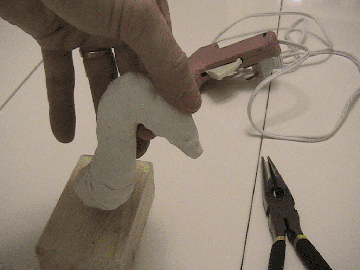
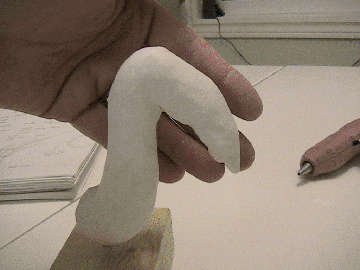
Apply the clay over the entire wire frame. Use your fingers to begin to mould the shape of the character and press the clay into the foil so that it holds on tightly. Don't worry about adding details or texture at this point. What you want to be doing here is making sure that the overall volume is correct.
You may need to add bits of clay here and there in little chunks or press down in certain areas to even out the surfaces.
Also, don't worry about finger prints or smoothing the surface yet, we still have to add more parts on.
