For this first project, I'll give you some short clips from some movies. Choose one of the clips and do the following:
1) Watch the clip a few times to become familiar with what is happening.
Clip 1 - Dirty Harry (53 scenes - 2 min 45 sec)
Clip 2 - The Matrix (43 scenes - 1 min 30 sec)
Clip 3 - The Adventures of Robin Hood (58 scenes- 2 min 35 sec)
Clip 4 - Star Trek (Kirk & Spock fight) (57 scenes- 2 min 17 sec)
Clip 5 - Watchmen
(69 scenes- 1 min 44 sec)
2) Get the file of the clip from Brian in class and download it to your own computer.
3) Create a new folder and drop the file into it.
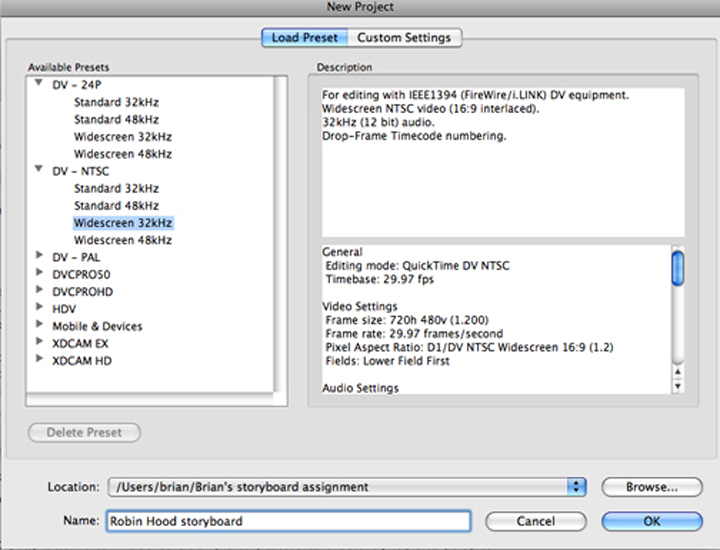
4) Open up Adobe Premier and create a new project (be sure it's 29.97fps). Save the project into the same folder that you created for the clip.
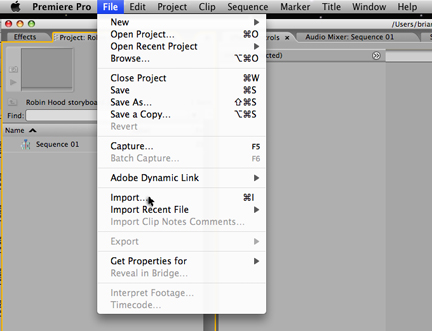
5) Import the clip into the project and then load it into the timeline.
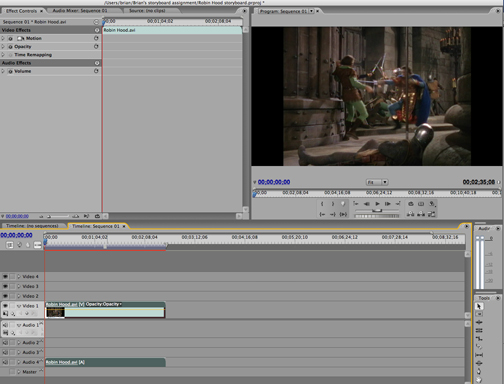
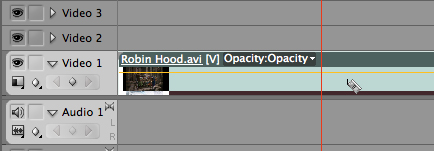
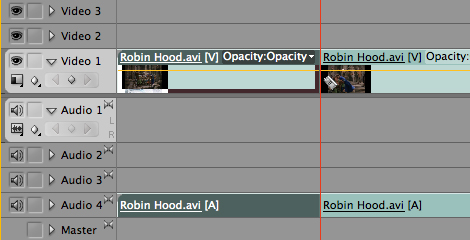
6) Go through the clip slowly and cut the clip (using the razor tool) wherever there is a new scene. This will create a visual marker for you for later on when you edit in your own storyboard panels.
7) Go back to the beginning of the clip and starting with Scene 1, list off all the important information about the shot on your Scene Log Sheet. Indicate the Scene number, the type of shot that it is, i.e. - establishing shot, close up, over the shoulder, etc. Indicate whether it's an up-shot, down-shot, etc. Indicate the number of characters in the shot, i.e. - one shot, two shot, etc. Indicate any camera moves, i.e. truck-in (zoom in), horizontal pan, etc. Write down how many panels you think will be required to explain the scene in storyboard. Indicate the type of transition to the next scene, i.e. cut to, cross dissolve, etc. Write down the length of the scene in seconds and frames. Write down any dialogue and action notes.
Scene 1 here is 22 frames in length.
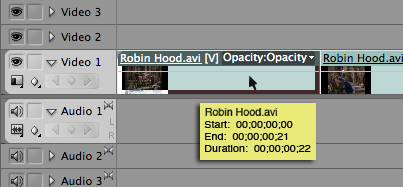
Scene 2 here is 2 seconds and 27 frames in length.
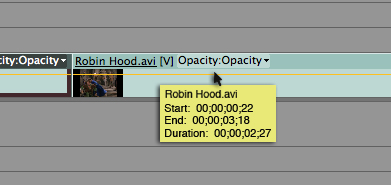
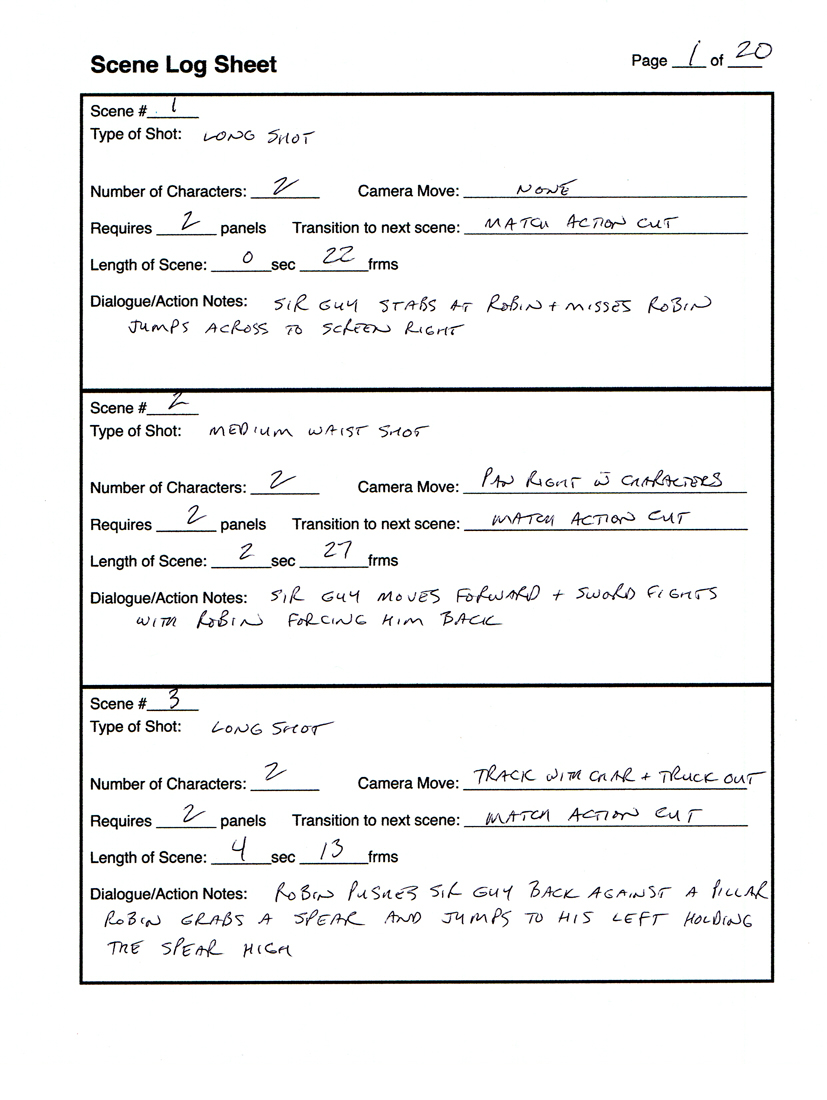
- (it took me 1 hour to break each of these clips down as shown above)
8) Go back over your notes again to make sure you have all the information required.
9) Print out your storyboard sheets and beginning with scene 1, draw the composition and character placement. Continue through each scene, being sure to draw the appropriate number of panels required to clearly describe the action taking place on the screen (there are usually 2 - 3 panels per scene... sometimes more if necessary).
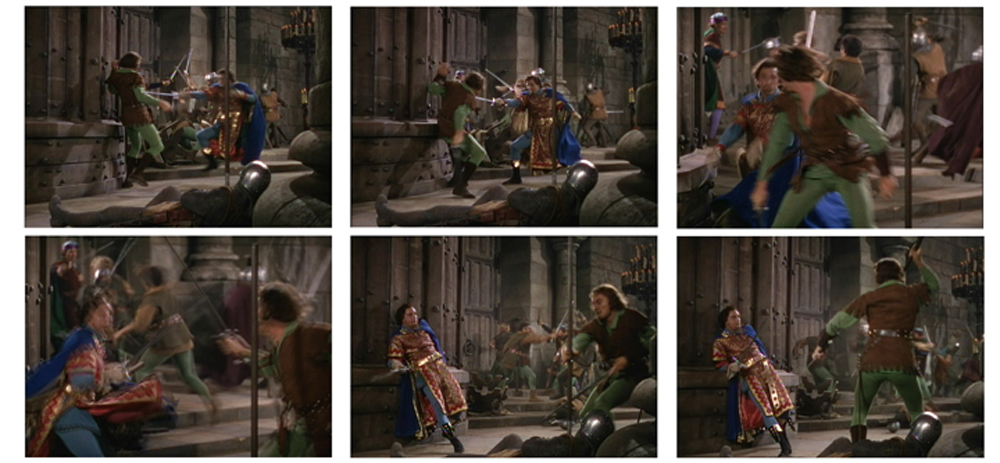
These were my initial rough sketches...

And these are the cleaned up storyboard panels for presentation...

10) Once you have completed a few of them, scan the drawings in and make any modifications necessary in Photoshop. i.e. contrast, image sizing, etc.
11) Save the modified panels into the assignment folder being sure to label them according to their scene and panel number, i.e. 1-1, 1-2, 2-1, 2-2, 2-3, etc.
12) Import the storyboard panels into Premier and drop them into the timeline over the appropriate scene and expand the image to cover the appropriate length of time.
13) Render the project as you go along and play back the video to see if the panels are conveying the proper information.
14) Make any revisions to the panels that you feel are necessary and complete the remaining missing ones until the entire video clip is completed.
15) Once you are satisfied with the results, export the video to a movie (either a .mov or .avi file).
16) Burn the file onto a DVD or Memory Key and bring it to class for review. Be sure to compress the file into an .mp4 so that it's not a gigantic file size. Anything over 10MB will not be viewed.
We'll begin this assignment in Week 10 and you will have 4 weeks to work on it.
The Scene Log Sheets will be due on Mon. Nov. 26th and Fri. Nov 30th. The Story Reel is due the final week on Dec. 10th and 14th.
We'll watch all the videos in this class.