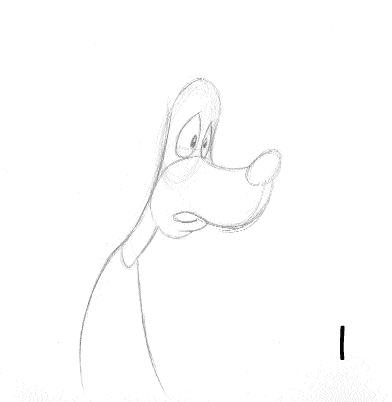
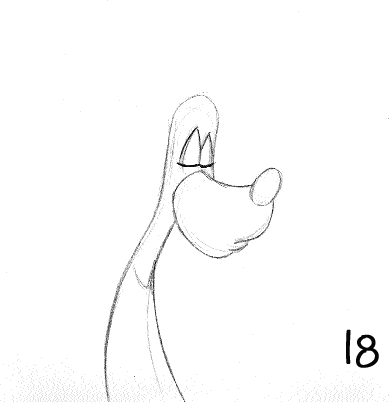
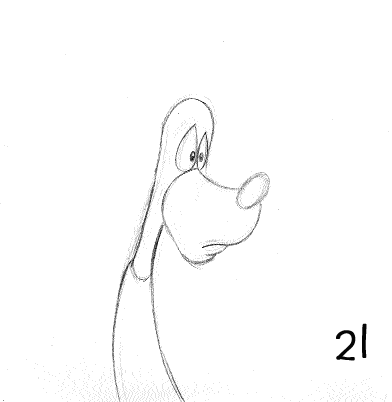
This exercise can be done in a number of different ways depending on how you want the attitude of the character to read. It is of utmost importance that you take the time to think and act this assignment through fully before you begin to animate. Hyper analyze the actions that your head takes as you act out the line. Notice the subtle nuances of your head tilt. Feel the anticipation of the head and the lead the head takes before the mouth forms the 4 key mouth positions.
In the word “MEOW” there are 4 main mouth positions: “MMM”, “EEEE”, “AH”, and “OOOH”.
These will form your primary keys. The other two key positions will be the neutral start pose and the neutral end pose. You will probably have 3 or 4 secondary keys depending on how you move the head before the word meow and after it. In my example on video I had two before and one after. You will determine the path of action on the head and thus the number of key and secondary poses.
The second thing to watch for is your timing charts for this assignment. In my example I used a lot of favors to the keys to cushion the action but not slow it down with halves and quarters. This gives the action of the mouth more punch. This is largely a matter of personal finesse. If we were working with an actual sound track, we would have to follow the timing of the actor’s voice religiously to keep it in sync. On this assignment however the timing is basically up to you. If you want to shoot some of it on one’s and two’s, that’s up to you. Some of you may already have begun to experiment with your timing. Have fun with this one and try out some different things.
Overall this assignment should take you about 4 - 8 hours. You should have somewhere between 24 - 38 drawings total.
For the “M” sound: Give more punch to the dialogue by holding back on the effect of extreme squash.
Wait until the last moment to squash the cheeks against the eyes, otherwise it will look too mushy if you just inbetween straight into it.
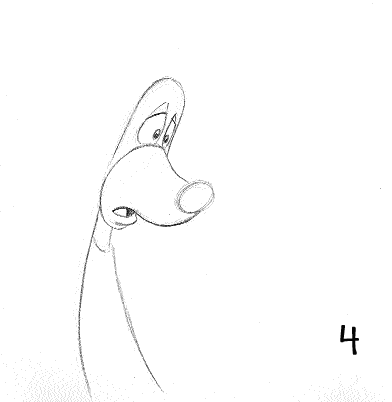
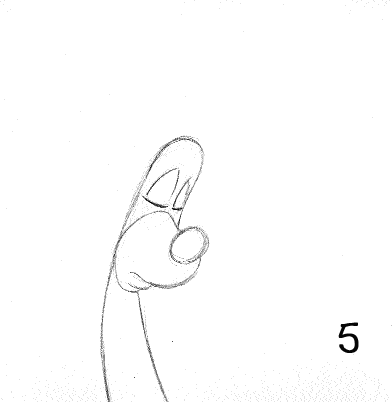
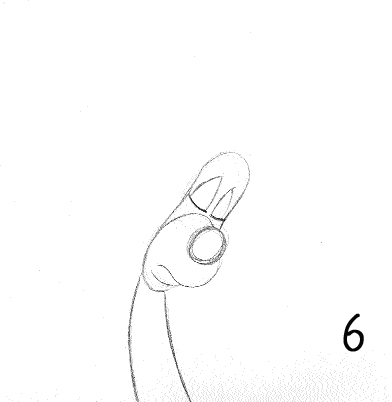
If you’re going to stretch vowels - Then STRETCH them!
Nothing is worse than under animating your dialogue.
EXAGGERATE!!
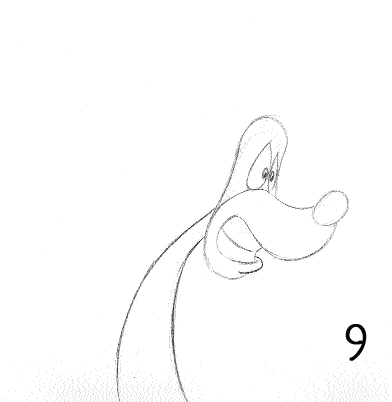
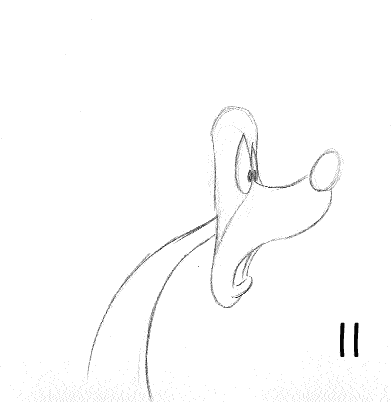
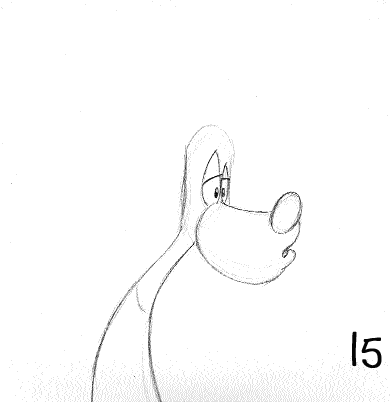
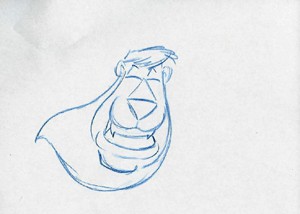
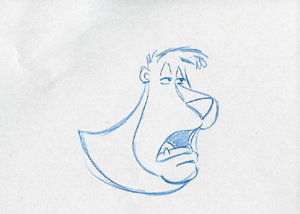
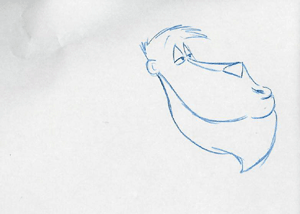
Avoid being flat.
Use Stretch, Squash and Pinching to its fullest possibilities
Try to avoid making the facial expressions symmetrical.
Be sure to anchor the eyes and nose to the horizontal eyeline. This should be a given at this point in your training.
- Watch the ear placement as it relates to your structural lines.
- Watch the ¢ lines through the features.
- Structure solidly in 3D.
There is nothing worse than floating features on a character as they move with lip sync.
This exercise is an exploration of squash, stretch, and facial mobility or expression with dialogue. Remember - THIS IS NOT SATURDAY MORNING CARTOONS. No limited animation or stock mouth positions.
Here's an excellent example of non-symmetrical facial expressions. This model sheet is from Disney's "Aristocats".

Mouth positions as they relate to sounds:
- Neutral
- “M”
- “EE”
- “AH”
- “OH”
- “OO”
The neutral position is neutral but characteristic to the personality and emotional intent of the character within the context of the scene. Don’t make it blank and expressionless.
- All positions should relate to the neutral pose.
- Flip every pose with the neutral pose.
- Structures, volumes, and line quality should be established with the neutral pose and checked for structural fine tuning.
- The neutral should also be checked against the “AH” pose for structural fine tuning.
- Squash “M” - All features focus towards the eyeline anchors.
- Open “AH” - All features stretch away from the eyeline anchors.
- Squash “OO” - OO is a compression pose and should focus out from the face.
- Pay attention to the upper lip shape as it changes and effects the cheeks.
- The lines that define this shape are anchored to the nostrils and will be visible sometimes, others, not.
The relationship of these lines to the cheeks affects the lines at the corners of the mouth.
- Flipping is an essential check for the animator. It is a non-interested party and will tell you a lot about your work. If you can sit back and observe, it is a great reality check!
Work the “EE” and “OH”
- “EE” as a complete squash compression with the teeth clenched. Establish the teeth position andstructure. (There are times when the character’s teeth will float but a standard should be established.)
- Check “EE” with the neutral pose and with the stretch “AH”.
- “OH” is a stretch downwards. The lips will cover the teeth. The masses will stretch and are anchored to the nose.
- Check the “OH” pose with the neutral, squash “M” and stretch “AH”.
All sounds should relate to each other. Flip to check the “sound” of each picture and the consistencies in form and structure.
Once the major positions have been established, extra mouth shapes such as “FF”, “L” and “RR” can be explored. (You won’t use them but it’ll be good practice to try them out.)
Once you’re happy with these positions, you can clean them up in final line and use them as part of your final model sheets.

